Dive Photography and Videography: The Essentials for Awesome Videos
Underwater videography is a great way to share your diving experiences with friends, family, and the world. But if you’ve never done it before, it can be a bit daunting. What gear do you need? How do you set it up? What are the best techniques for getting great footage?
Don’t worry, we’ve got you covered. In this article, we’ll give you all the essential tips and tricks for getting started in dive photography and videography.
Gear
The first thing you’ll need is some gear. You don’t need to go crazy and spend a fortune, but you’ll need a few basic pieces of equipment to get started.
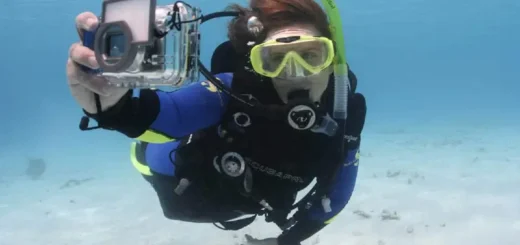
First, you’ll need a camera. You can use a DSLR, a mirrorless camera, or even a GoPro. If you’re just starting out, we recommend using a GoPro. They’re relatively inexpensive, easy to use, and they can take great video.
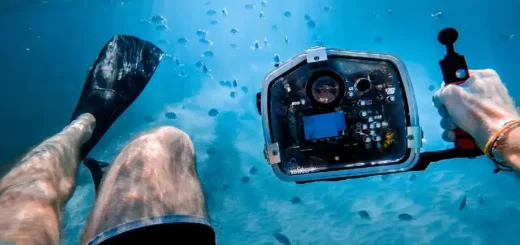
Next, you’ll need a housing for your camera. This is what allows you to take your camera underwater. There are a variety of different housings available, so make sure you choose one that’s compatible with your camera.
If you’re using a GoPro, you can also get a underwater dome port. This is a great way to get half-underwater shots that look really cool.
Finally, you’ll need some lights. Underwater, things can get pretty dark pretty quickly. So, having some lights will help you get better footage. You can get started with just a couple of small, handheld lights.
Setup
Now that you have all your gear, it’s time to set it up.
If you’re using a GoPro, the setup is pretty simple. Just put your camera in the housing and you’re good to go. If you’re using a DSLR or mirrorless camera, you’ll need to attach the housing to the camera.
Once your housing is attached, you’ll need to attach your lights. Most lights will have a mounting plate that you can screw into the housing. Then, you just need to attach the lights to the mounting plate.
If you’re using a GoPro, you can also attach a dome port. Just screw it into the housing and you’re good to go.
Finally, you’ll need to attach your camera to a tripod. This will help you keep your camera steady underwater.
Techniques
Now that you have your gear all set up, it’s time to start shooting some video. Here are a few essential techniques that will help you get great footage.
- First, always shoot in landscape mode. This will give you the widest field of view and the best video quality.
- Second, try to keep your camera as steady as possible. The best way to do this is to use a tripod. But if you don’t have a tripod, you can also use your body or a nearby object to steady your camera.
- Third, shoot in short clips. This will make it easier to edit your footage later on.
- Fourth, be sure to get a variety of shots. Get close-ups, wide shots, and shots from different angles. This will give you a lot of options when you’re editing your video.
- Fifth, pay attention to your backgrounds. You don’t want anything distracting in your shots. So, be sure to keep an eye on what’s behind you.
- Sixth, use your lights. Underwater, things can get pretty dark pretty quickly. So, having some lights will help you get better footage.
- Finally, have fun! Underwater videography is a great way to share your diving experiences with friends, family, and the world. So, don’t be afraid to experiment and try new things.
We hope you found this article helpful. Happy shooting!